
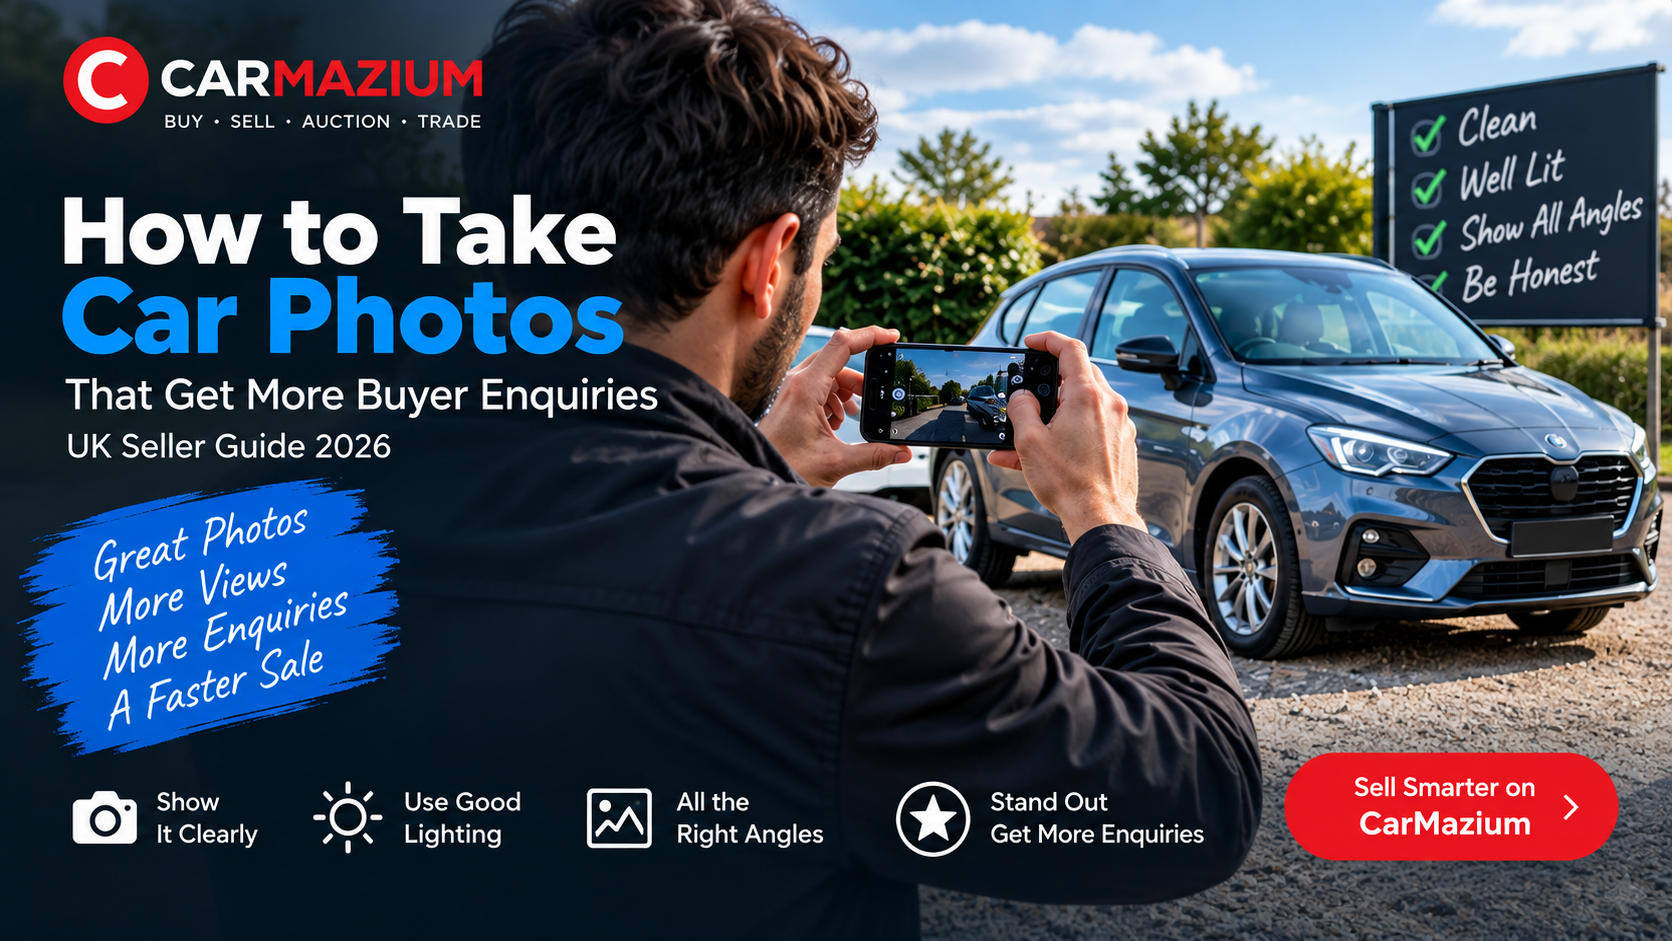
How to Take Car Photos That Get More Buyer Enquiries: UK Seller Guide 2026
Learn how to photograph a car for sale in the UK, including the best main image, essential exterior and interior angles, lighting, damage photos and common mistakes.
In this article
A buyer can decide whether to open a car advert in a fraction of a second.
Before they read the mileage, service history or asking price, they often see one thing first:
the main photo.
That means photography is not decoration.
It is part of the selling process.
Good photos help a buyer understand the vehicle.
Poor photos create uncertainty, hide the condition and can make a well-maintained car look less attractive than it really is.
This guide shows how to photograph a used car properly using only a smartphone and a little preparation.
Why Car Photos Matter So Much
Online buyers cannot initially:
- walk around the car,
- sit inside,
- inspect the wheels,
- open the boot,
- or look closely at the paint.
Your photographs have to do that job for them.
Current Auto Trader photo guidance recommends a broad set of exterior and interior images and says landscape orientation is best for car adverts.
The core principle is simple:
show enough of the car that the buyer does not feel you are hiding anything.
Clean the Car Before Taking Photos
You do not need a professional detailing studio.
But the vehicle should look cared for.
Before photographing:
- wash the bodywork,
- clean the wheels,
- remove rubbish,
- vacuum the seats and floor,
- wipe the dashboard,
- empty unnecessary items from the boot,
- remove charging cables or accessories that clutter the cabin unless they are included in the sale,
- and clean the windows.
A clean car photographs better because the buyer can assess the actual condition more easily.
Do not use heavy tyre dressing or editing to disguise cracks, damage or wear.
Choose the Right Location
The background should support the car, not compete with it.
Good locations include:
- a quiet open car park,
- clean driveway,
- uncluttered forecourt,
- wide residential area,
- or another safe open space.
Avoid:
- overflowing bins,
- other cars blocking the view,
- people standing around the vehicle,
- messy garages,
- petrol-station pumps,
- harsh advertising boards,
- and narrow streets where you cannot step back.
The car should be the obvious subject.
Use Daylight
Natural daylight usually gives the most accurate result.
Try to avoid:
- very dark evening photos,
- direct midday glare,
- heavy shadows,
- mixed indoor lighting,
- and bright headlights pointing at the camera.
A bright overcast day can be excellent because the light is soft and the reflections are controlled.
Early morning or later afternoon can also work well.
Use Landscape Orientation
For car adverts, landscape images normally fit listing cards and vehicle galleries better than portrait images.
Auto Trader's guidance specifically recommends landscape rather than portrait.
Hold the phone horizontally.
Keep the whole car in frame.
Leave a little space around the vehicle so the platform can crop the image without cutting off bumpers or wheels.
This is especially important for the main photo.
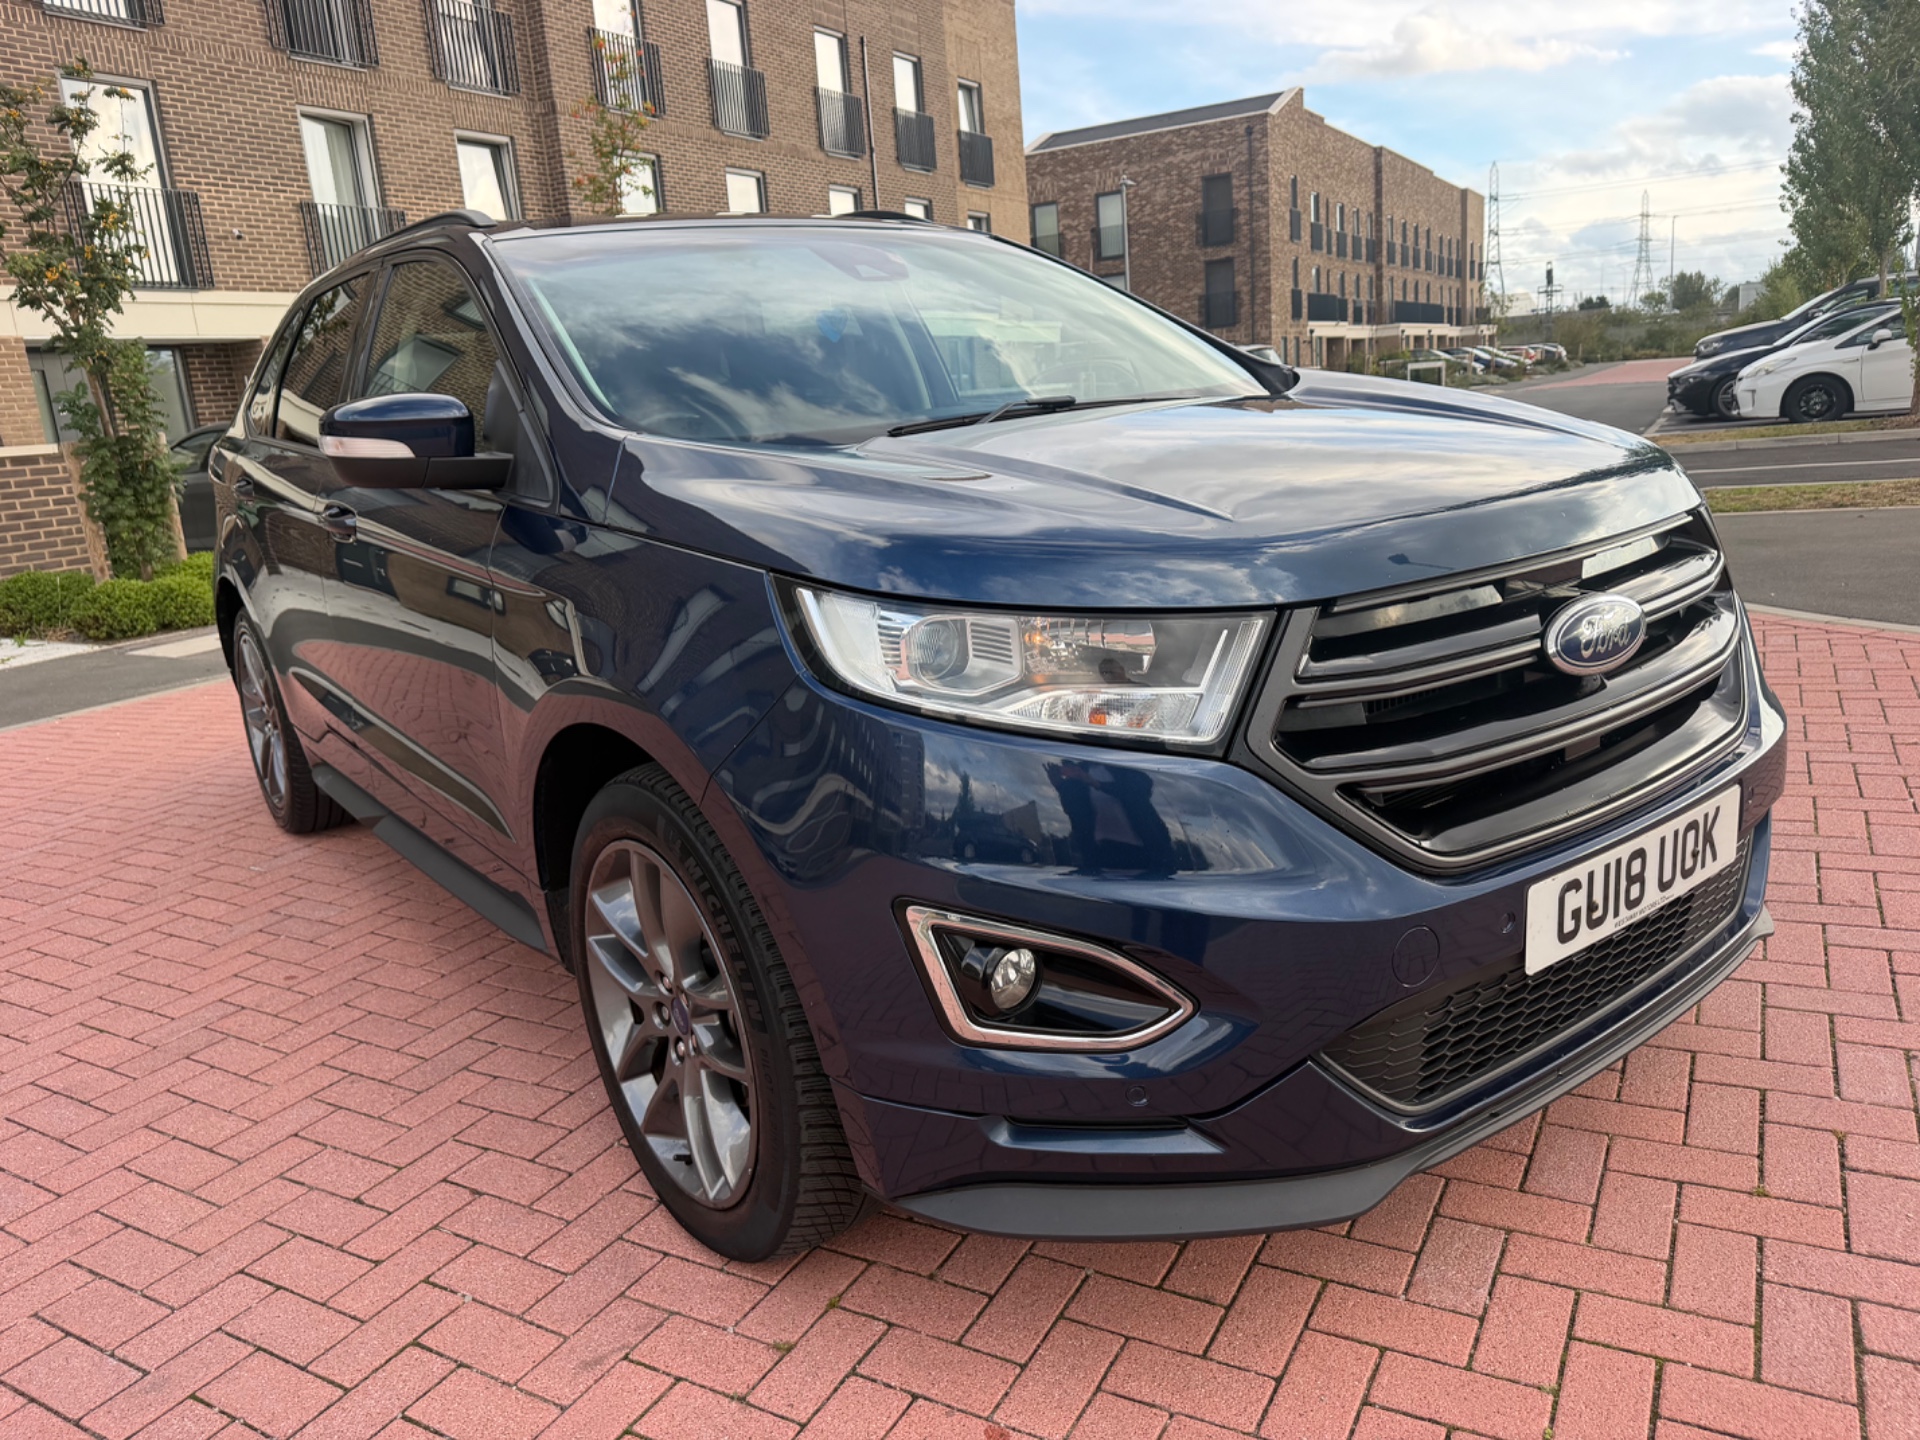
The Best Main Photo: Front Three-Quarter
A front three-quarter angle is often the strongest main image.
It shows:
- the front,
- one side,
- wheels,
- ride height,
- body shape,
- and overall stance.
Stand far enough back to include the complete car.
Turn the front wheels straight unless you have a deliberate reason not to.
Keep the camera around normal chest height rather than shooting from an extreme low or high angle.
The goal is clear presentation, not dramatic advertising photography.
Essential Exterior Photos
A complete exterior set should normally include:
Front Three-Quarter
Use this as a strong main image candidate.
Rear Three-Quarter
Shows the opposite end and gives another sense of body condition.
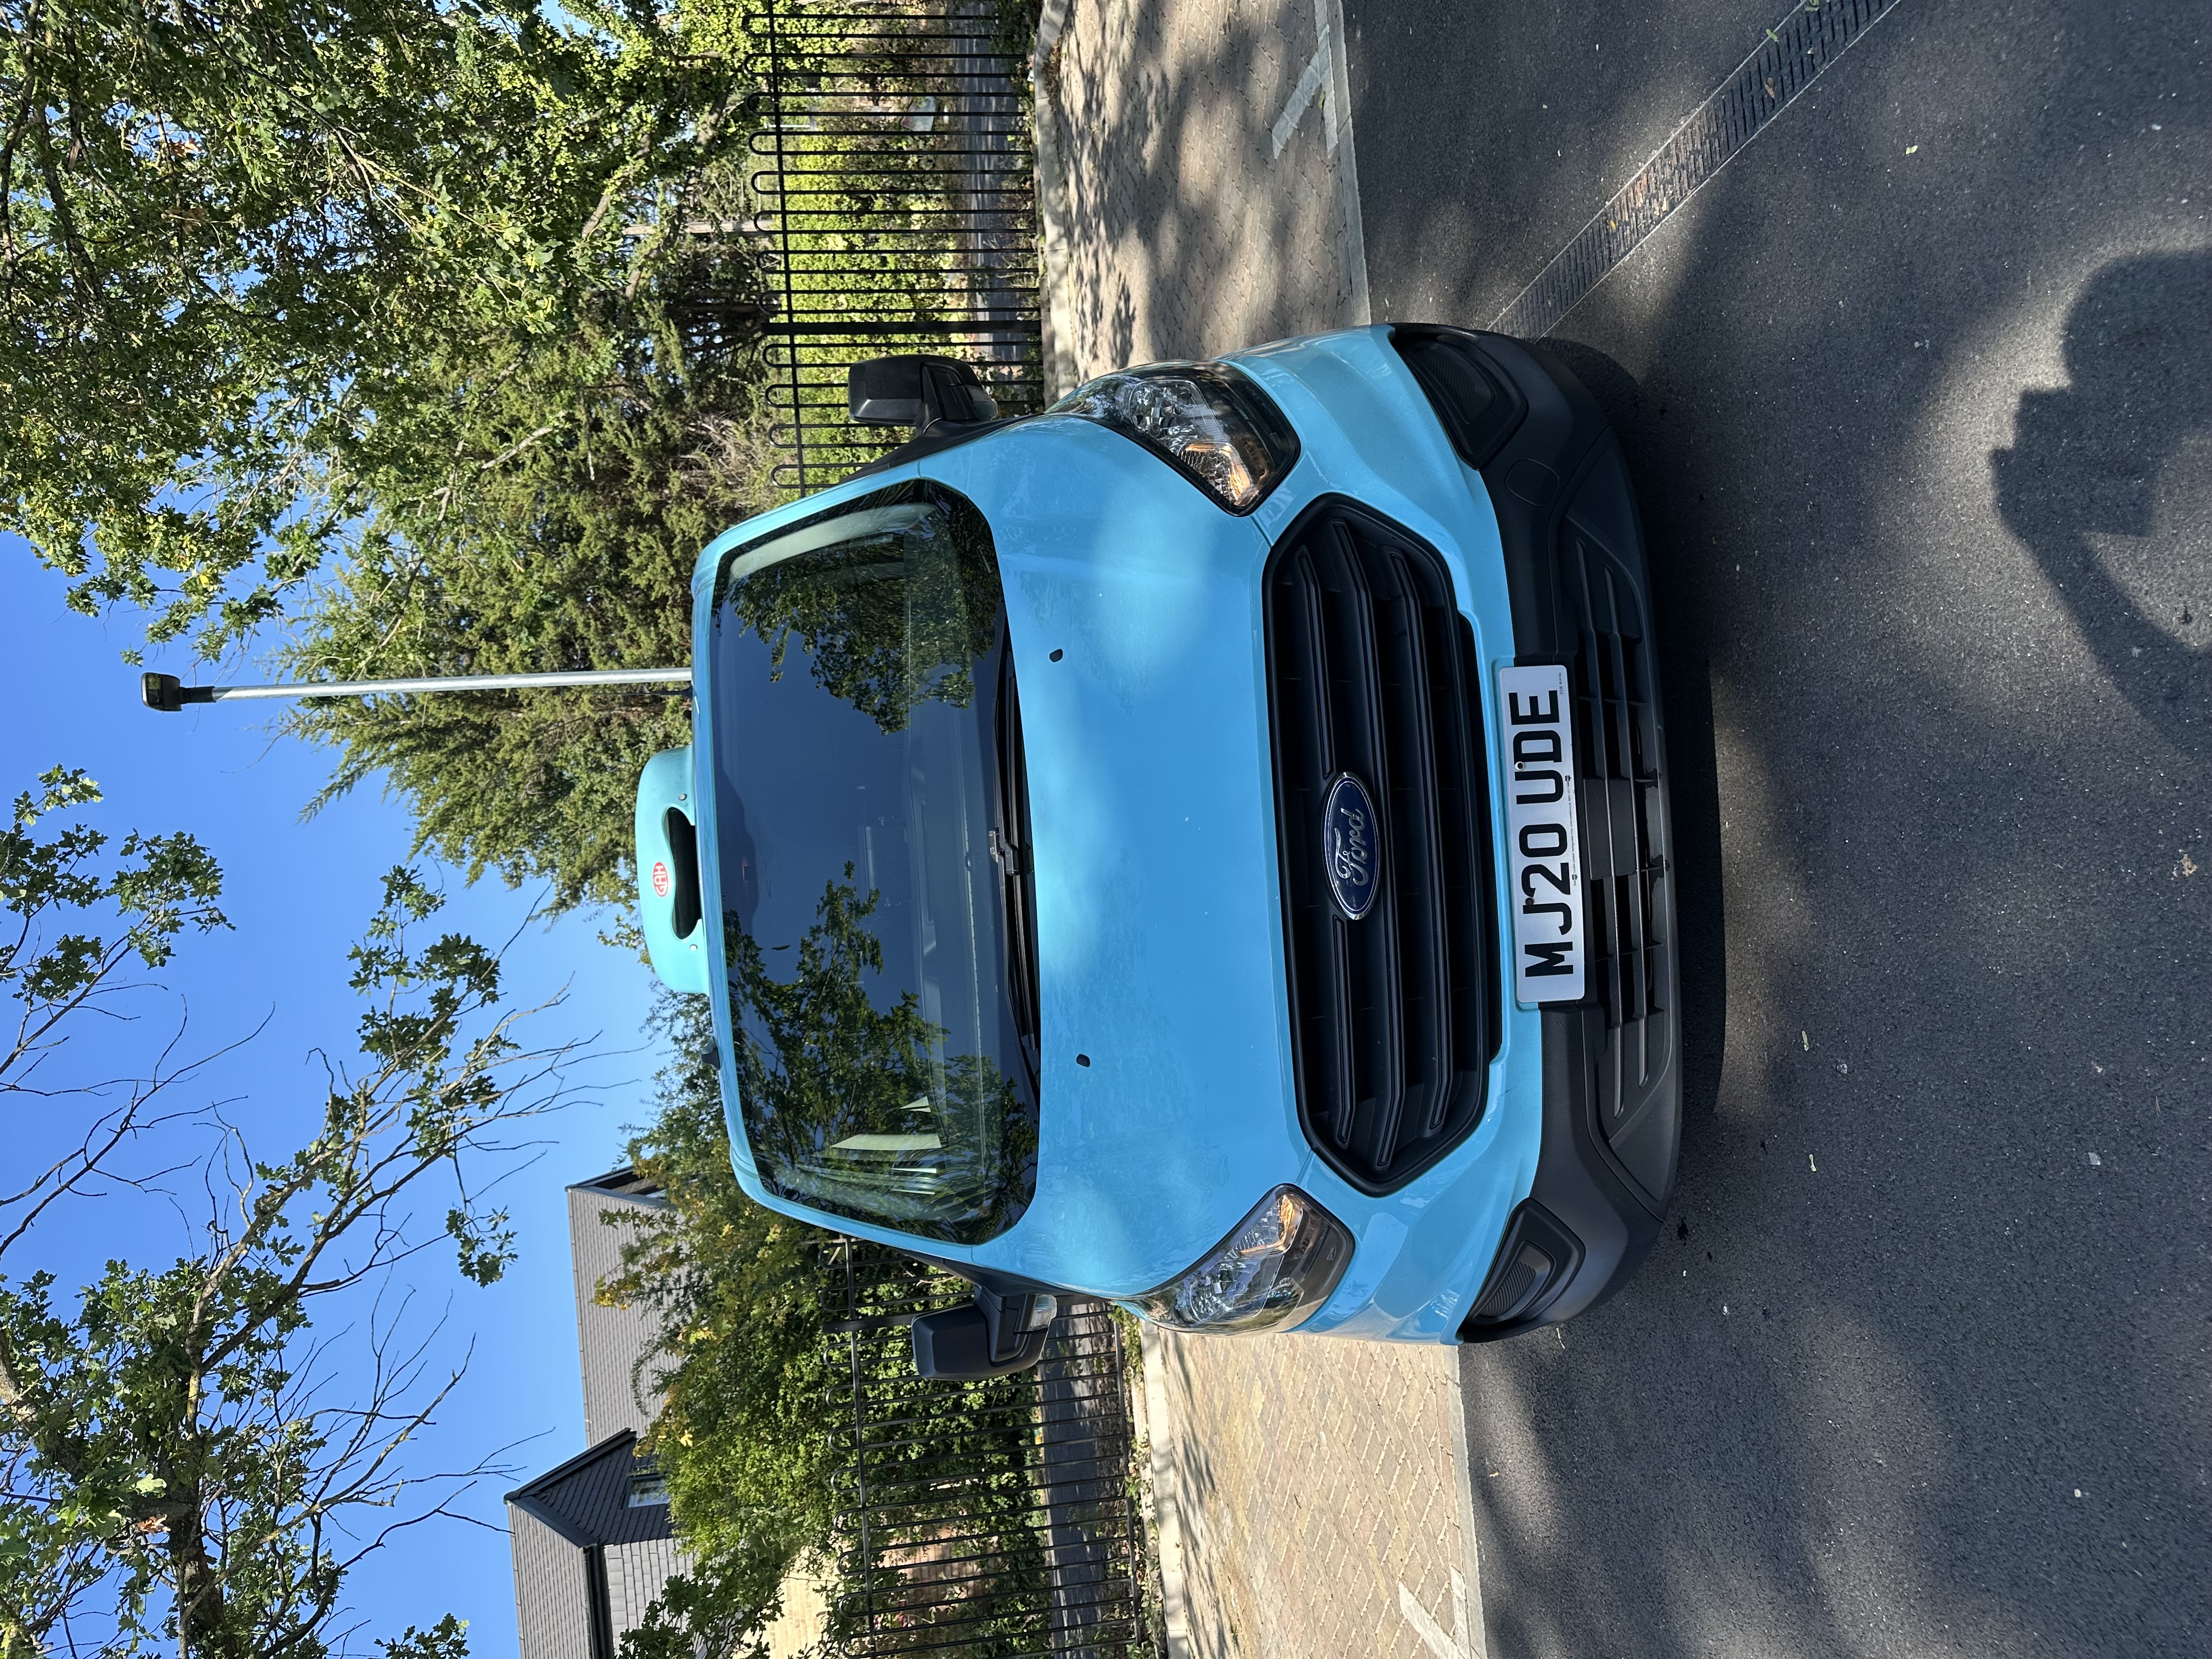
Straight Front
Useful for bumper, headlights and alignment.
Straight Rear
Shows rear bumper, tailgate and lights.
Driver Side
Full side profile.
Passenger Side
Full side profile.
Wheels
Photograph each wheel closely enough to show:
- alloy condition,
- kerbing,
- tyre sidewall,
- and obvious tread condition.
Roof Where Relevant
Useful for:
- panoramic roofs,
- convertibles,
- roof damage,
- roof rails,
- and larger SUVs.
Auto Trader currently recommends front and rear corner shots, straight front and rear views, both side profiles and wheel close-ups.
Photograph the Interior Properly
Interior condition matters almost as much as exterior condition.
Include:
- dashboard,
- instrument cluster,
- steering wheel,
- front seats,
- rear seats,
- centre console,
- infotainment screen,
- door cards,
- and boot.
If the car has desirable equipment, show it.
Examples:
- heated-seat controls,
- reversing camera,
- panoramic roof,
- digital dashboard,
- upgraded audio,
- electric-seat controls,
- navigation,
- adaptive cruise settings,
- or parking sensors.
Do not photograph only the equipment and forget the overall cabin.
The buyer wants context.
Show the Odometer
A clear dashboard image showing the mileage helps confirm the advert information.
Take it with the ignition on where appropriate and the display readable.
Check that no unexpected warning light is visible.
If a warning light is present because of a genuine fault, do not hide it.
Explain it.
Our guide to dashboard warning lights and car value explains why an unexplained light can reduce buyer confidence.
Photograph the Boot
Boot space matters to many buyers.
Clear it out before taking the photo.
If the car has:
- parcel shelf,
- boot floor,
- space-saver wheel,
- repair kit,
- charging cable,
- or removable seats,
show what is included.
For estates, SUVs and family cars, boot presentation can be a significant selling point.
Photograph the Engine Bay
You do not need to make the engine bay look brand new.
In fact, excessive shiny dressing can make some buyers suspicious.
A clean, honest engine-bay photo can help show:
- general condition,
- fluid areas,
- factory layout,
- and whether obvious leaks are present.
Do not steam-clean an engine purely to conceal evidence of leaks.
Show Service History Without Exposing Personal Data
A photo of:
- service book,
- invoices,
- maintenance folder,
- or digital service evidence
can reassure buyers that documents exist.
But protect personal information.
Do not publish:
- full addresses,
- bank details,
- account numbers,
- signatures,
- previous-owner contact details,
- or the V5C document reference number.
GOV.UK specifically advises sellers not to share pictures or copies of the V5C because the document reference number can be abused.
Always Photograph Important Damage
This is where many sellers make a mistake.
They think showing a scratch will reduce interest.
In reality, hiding an obvious scratch can create a much worse viewing.
If the car has:
- dent,
- bumper scuff,
- cracked trim,
- kerbed wheel,
- paint damage,
- seat tear,
- windscreen chip,
- or other significant visible defect,
include a clear photo.
You do not need 10 close-ups of every stone chip.
But material damage should not be deliberately excluded.
A buyer who understands the condition before travelling is more likely to arrive with realistic expectations.
Do Not Use Filters
Avoid:
- beauty filters,
- HDR pushed too far,
- artificial sky replacement,
- colour saturation,
- blur,
- background removal that changes the vehicle edge,
- or editing that hides marks.
The advert should represent the car.
If the blue paint looks turquoise in the photos, the buyer may think the vehicle was misrepresented.
Accurate colour matters.
See our guide to car colour and resale value.
Keep the Number Plate Visible Unless the Platform Handles Privacy
There is no universal rule that every car advert must hide the registration plate.
A registration can be useful for buyers checking:
- MOT history,
- ULEZ status,
- and vehicle data.
However, sellers should use the privacy tools available on the platform and avoid exposing unrelated personal information in photographs.
The key point is not to confuse the registration plate with the V5C document reference number.
The V5C reference should not be posted publicly.
Do Not Photograph Your House More Than Necessary
If the car is photographed on a driveway, check what else is visible.
Avoid showing:
- house numbers unnecessarily,
- security systems,
- children,
- other private vehicles with documents visible,
- packages with names and addresses,
- or personal paperwork inside the cabin.
A clean neutral background is better for both presentation and privacy.
Put Photos in a Logical Order
The gallery should feel like a virtual walk-around.
A useful sequence is:
- front three-quarter,
- rear three-quarter,
- front,
- rear,
- driver side,
- passenger side,
- wheels,
- dashboard,
- front seats,
- rear seats,
- infotainment/specification,
- boot,
- engine bay,
- service evidence,
- damage or special details.
The buyer should not have to jump randomly from boot to headlight to back seat to wheel.
How Many Photos Should You Use?
There is no magic number.
But a modern online car advert usually benefits from more than a handful.
Auto Trader currently recommends at least 20 strong photos and allows much larger galleries on some packages.
For CarMazium, the better approach is:
use enough high-quality images to show the whole car clearly without uploading repetitive duplicates.
Twenty useful images are better than 50 nearly identical ones.
Main Photo Mistakes
Avoid choosing a main image that:
- cuts off the bumper,
- crops a wheel,
- shows the car tiny in the distance,
- is heavily backlit,
- is taken at night,
- has another vehicle blocking it,
- or displays only the interior.
The main image should instantly communicate:
this is the car.
Common Smartphone Mistakes
Using Digital Zoom
Digital zoom reduces image quality.
Walk closer where safe.
Dirty Camera Lens
A fingerprint on the phone lens can make every photo look soft.
Wipe it first.
Ultra-Wide Distortion
Very wide lenses can stretch the car unnaturally.
Use the normal lens unless space requires otherwise.
Portrait Mode
Artificial background blur can distort mirrors, wheels and body edges.
Normal photo mode is usually safer.
Screenshots
Do not upload screenshots of photographs when you still have the original image.
Screenshots can reduce quality and add unwanted interface elements.
Photograph Special Features
If your car has a feature buyers may search for, show it.
Examples:
- seven seats,
- tow bar,
- panoramic roof,
- heated steering wheel,
- upgraded wheels,
- performance seats,
- electric boot,
- adaptive headlights,
- charging cable,
- removable roof,
- specialist conversion,
- or factory body kit.
The description tells the buyer the feature exists.
The photo proves it is there.
What About Video?
Video can be useful, but it should support rather than replace the photo set.
A short walk-around can show:
- engine start,
- dashboard,
- body condition,
- interior,
- and sound.
But keep the video factual.
Do not use dramatic editing to hide defects.
Photography for Category S or N Cars
For insurance-category cars, buyers may want more evidence.
If you have legitimate repair photos, invoices or pre-repair images, those can help explain the history.
Do not present a repaired car as though the category never existed.
Transparency matters more than polished photography.
Read our Cat S vs Cat N guide.
A 15-Minute Photo Checklist
Before you upload, ask:
- Is the car clean?
- Is the main image strong?
- Can I see every side?
- Are both interior and exterior covered?
- Are the wheels visible?
- Is the mileage shown?
- Is the boot shown?
- Is important specification visible?
- Is material damage disclosed?
- Is personal information hidden?
- Are the images landscape?
- Are any photos blurry or duplicated?
If the answer is yes across the list, the buyer has a much better chance of understanding the car.
Frequently Asked Questions
What Is the Best First Photo for a Car Advert?
A clean front three-quarter image in daylight is usually a strong choice.
Should I Photograph Scratches?
Material scratches or damage should be shown clearly rather than hidden.
Should I Use Portrait or Landscape Photos?
Landscape is generally better for car adverts and is recommended by Auto Trader.
How Many Photos Should I Add?
Use enough to show the vehicle thoroughly. A broad gallery of around 20 useful images is a strong benchmark.
Should I Edit the Photos?
Basic cropping and exposure correction can be fine, but do not alter the vehicle's colour or hide defects.
The Bottom Line
Good car photography does three things:
gets attention, reduces uncertainty and builds trust.
Clean the car.
Use daylight.
Shoot in landscape.
Show every important angle.
Photograph the interior and documents carefully.
Disclose visible damage honestly.
Then choose a strong front three-quarter image as the main photo.
When you are ready, create your CarMazium listing and give buyers a clear, accurate view of the vehicle.
Sell your car your way
Ready to turn your research into a real sale?
List in the CarMazium dealer auction for £0, or advertise retail from £1. Qualifying successful auction sales can receive a £100 seller incentive.
Keep reading
Related automotive guides
How Car Auctions Help You Get a Better Price for Your Car
Thinking of selling your car? Learn how online dealer auctions create competition between verified dealers and can help you attract stronger offers for your vehicle.
How to Write a Car Advert That Builds Buyer Trust: UK Guide 2026
Write a stronger used-car advert with accurate details, service history, condition, specification, recent maintenance and honest fault disclosure.
How to Handle Viewings and Test Drives Safely When Selling a Car Privately in the UK
A practical UK guide to safer private car viewings and test drives, including buyer identity, insurance, keys, documents, payment and DVLA handover.
From the marketplace